Folding Mechanism Adjustment GuideUpdated 9 days ago
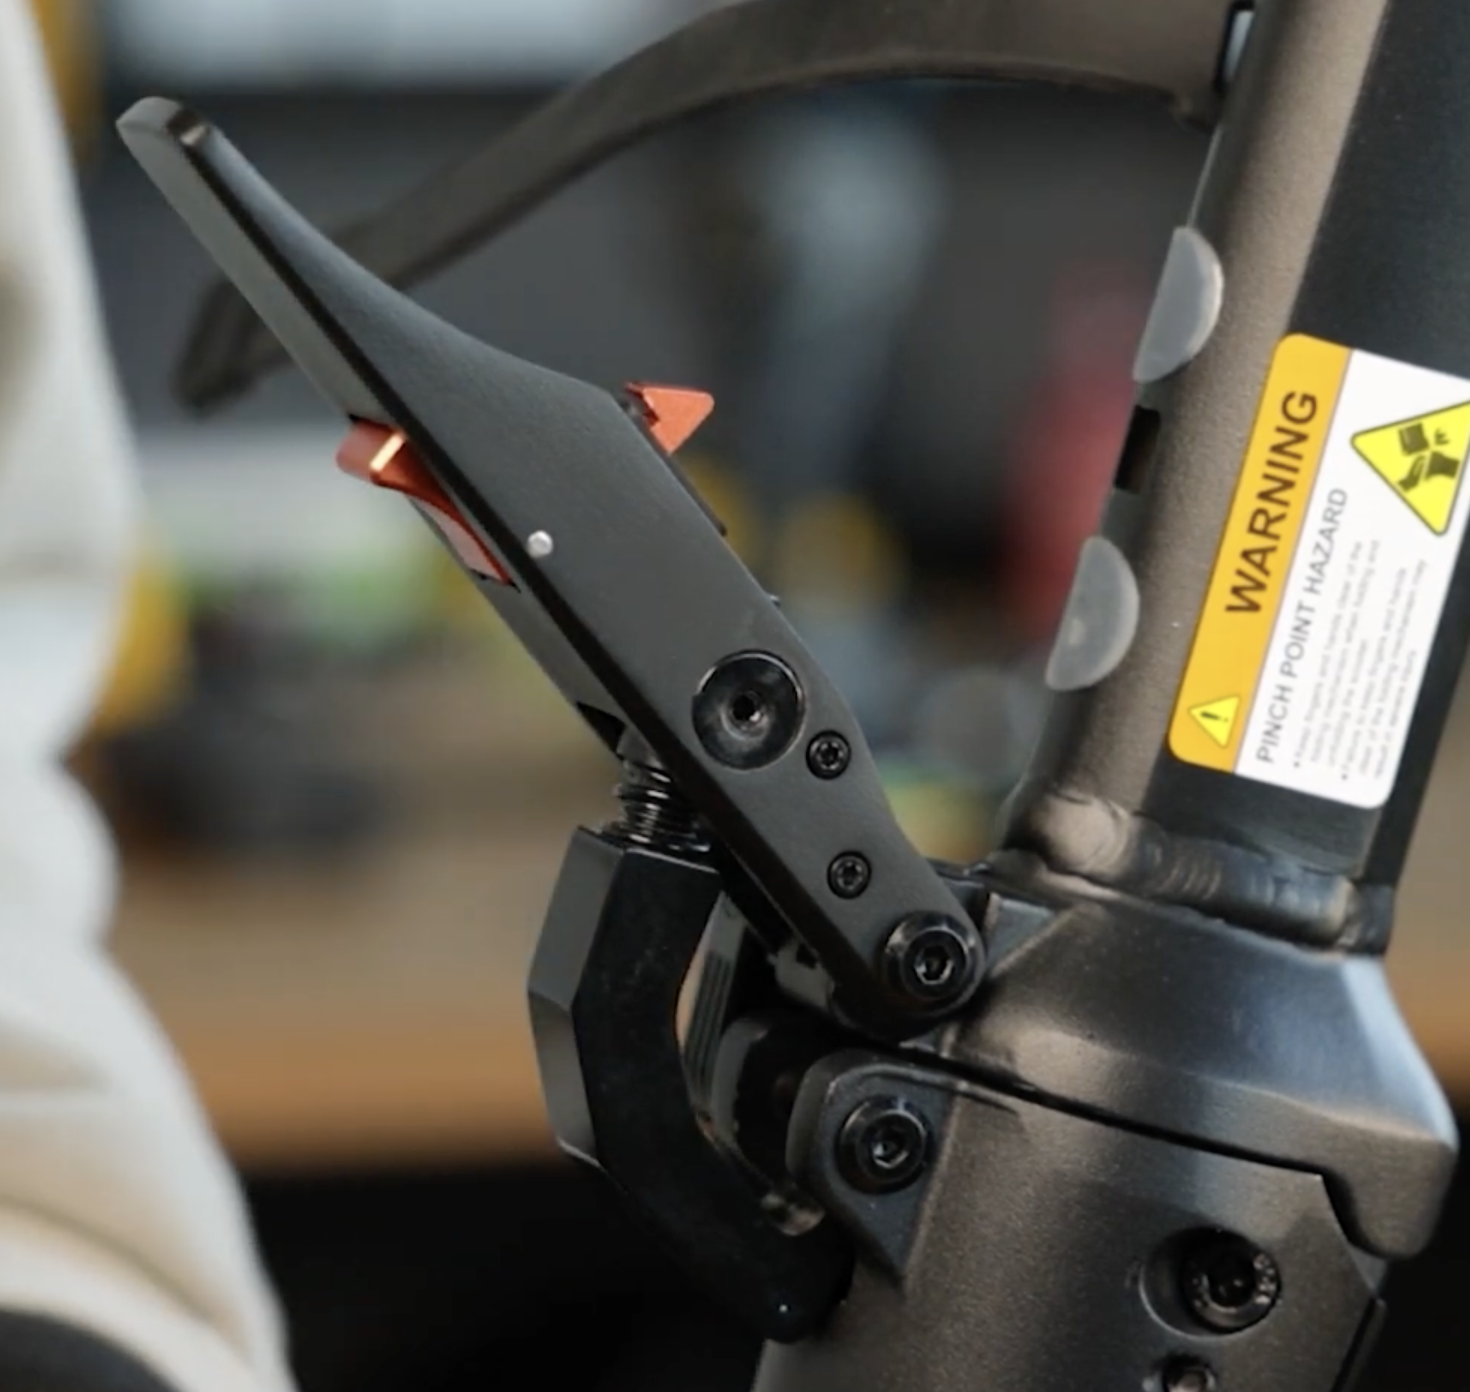
This guide explains how to properly tighten and adjust the folding mechanism on your scooter.
Use these steps if you notice any play in the joint, if the mechanism feels loose when locked, or if it pops out too easily when folding.
Tools Required
6 mm Allen key
3 mm Allen key
1. Prepare the Folding Mechanism
Ensure the folding mechanism is unlocked and not under tension before beginning any adjustments. This prevents damage to the hardware and ensures accurate tightening.

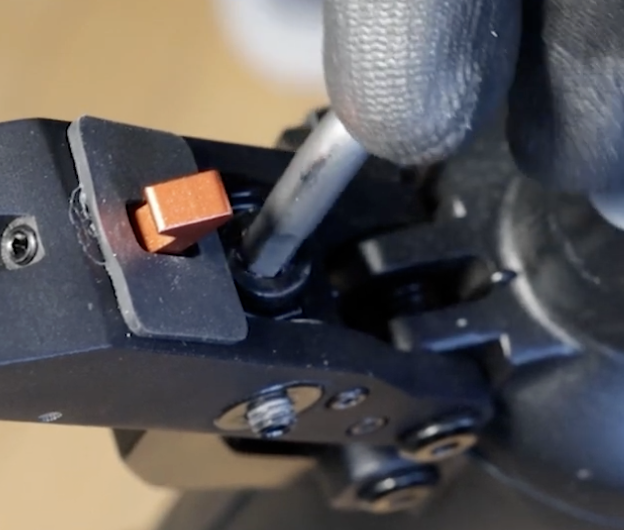
2. Loosen the Side Bolts (3 mm)
Locate the two side screws on the folding mechanism. Using the 3 mm Allen key, loosen both screws. These screws secure the clamp hook in place and must be loosened before adjusting the main bolt.

3. Tighten the Center Bolt (6 mm)
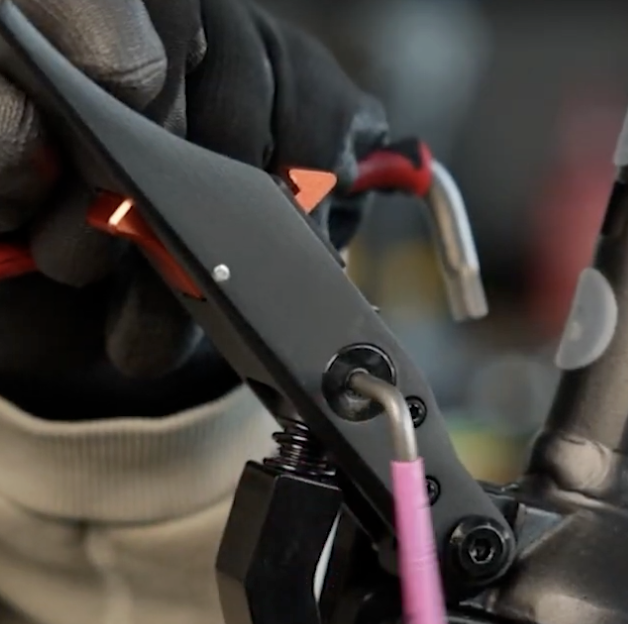
With the side screws loosened, locate the visible center bolt on the inner side of the folding component.
 Using the 6 mm Allen key, tighten this center bolt gradually. After each adjustment, check how firmly the folding mechanism locks in place. Continue tightening until the mechanism locks securely with no unwanted play.
4. Re-secure the Side Bolts
Once the center bolt is adjusted to the desired tightness, re-tighten the two side screws using the 3 mm Allen key. This will lock the adjustment in place and ensure long-term stability.
5. Final Check
Lock and unlock the folding mechanism a few times to confirm smooth operation and a firm, stable connection.
Video Guide
A full video walkthrough is available and applies to all Apollo Go, Air, City, and 2.0 series models, including the Explore 2.0 and Phantom 2.0.
Newest video using a Phantom 2.0 for reference: https://www.youtube.com/watch?v=ttDKKqTcUWo
Oldest video using a City 2023 for reference: https://www.youtube.com/watch?v=BlRwS-2QsMk