Step-by-step: How to swap brake padsUpdated a month ago
Changing Brake Pads
Replacing worn brake pads is an important part of regular scooter maintenance. Follow the steps below to safely remove and install new pads.
Step-by-Step Brake Pad Replacement
Remove the caliper.
Identify which brake pad needs replacing, then unbolt the caliper from the scooter so it hangs free and accessible.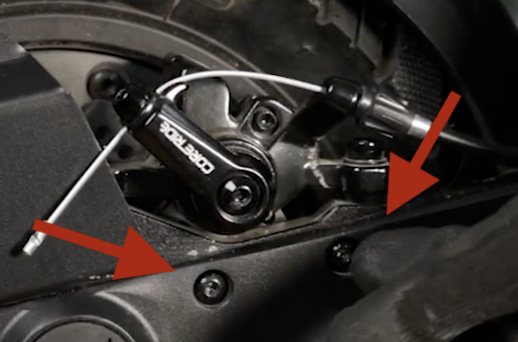
Locate the retaining bolt.
Most calipers use a single bolt or pin to secure the brake pads in place. Remove this bolt to release the pads.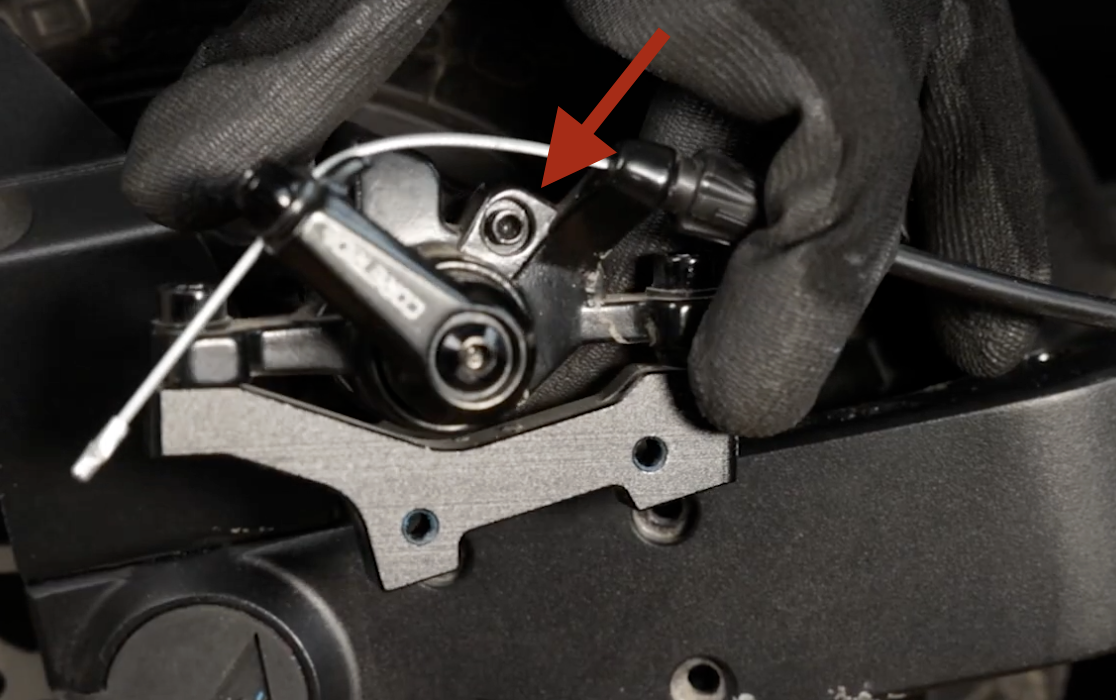
Remove the old pads.
Push the pads out from top to bottom - they should slide out easily once the retaining bolt is removed. Note that they should come out along with the retaining metal clip.Install the new pads.
Slide the new pads into position on the metal clip - they should be placed from the outside in. Then slide the new clip and pads into the caliper, then reinstall the retaining bolt to secure them.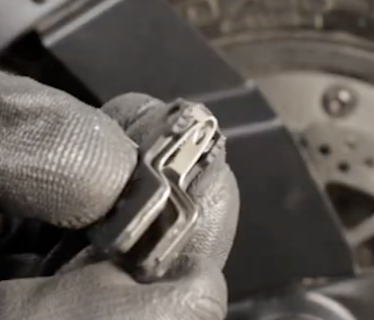
Reinstall and center the caliper.
Bolt the caliper back onto the scooter. You may need to loosen and tighten the mounting bolts a few times to ensure the pads sit centered on the rotor.
After reinstallation, take a short ride - if you're hearing a lot of per-rotation noise you could make minor adjustments as needed.
Additional Notes
Initial brake noise is normal.
New pads require a short break-in period before they become more quite over time of use, even if they are centered and provide full braking power.