Skip to Content
Apollo Servicing & Support Center
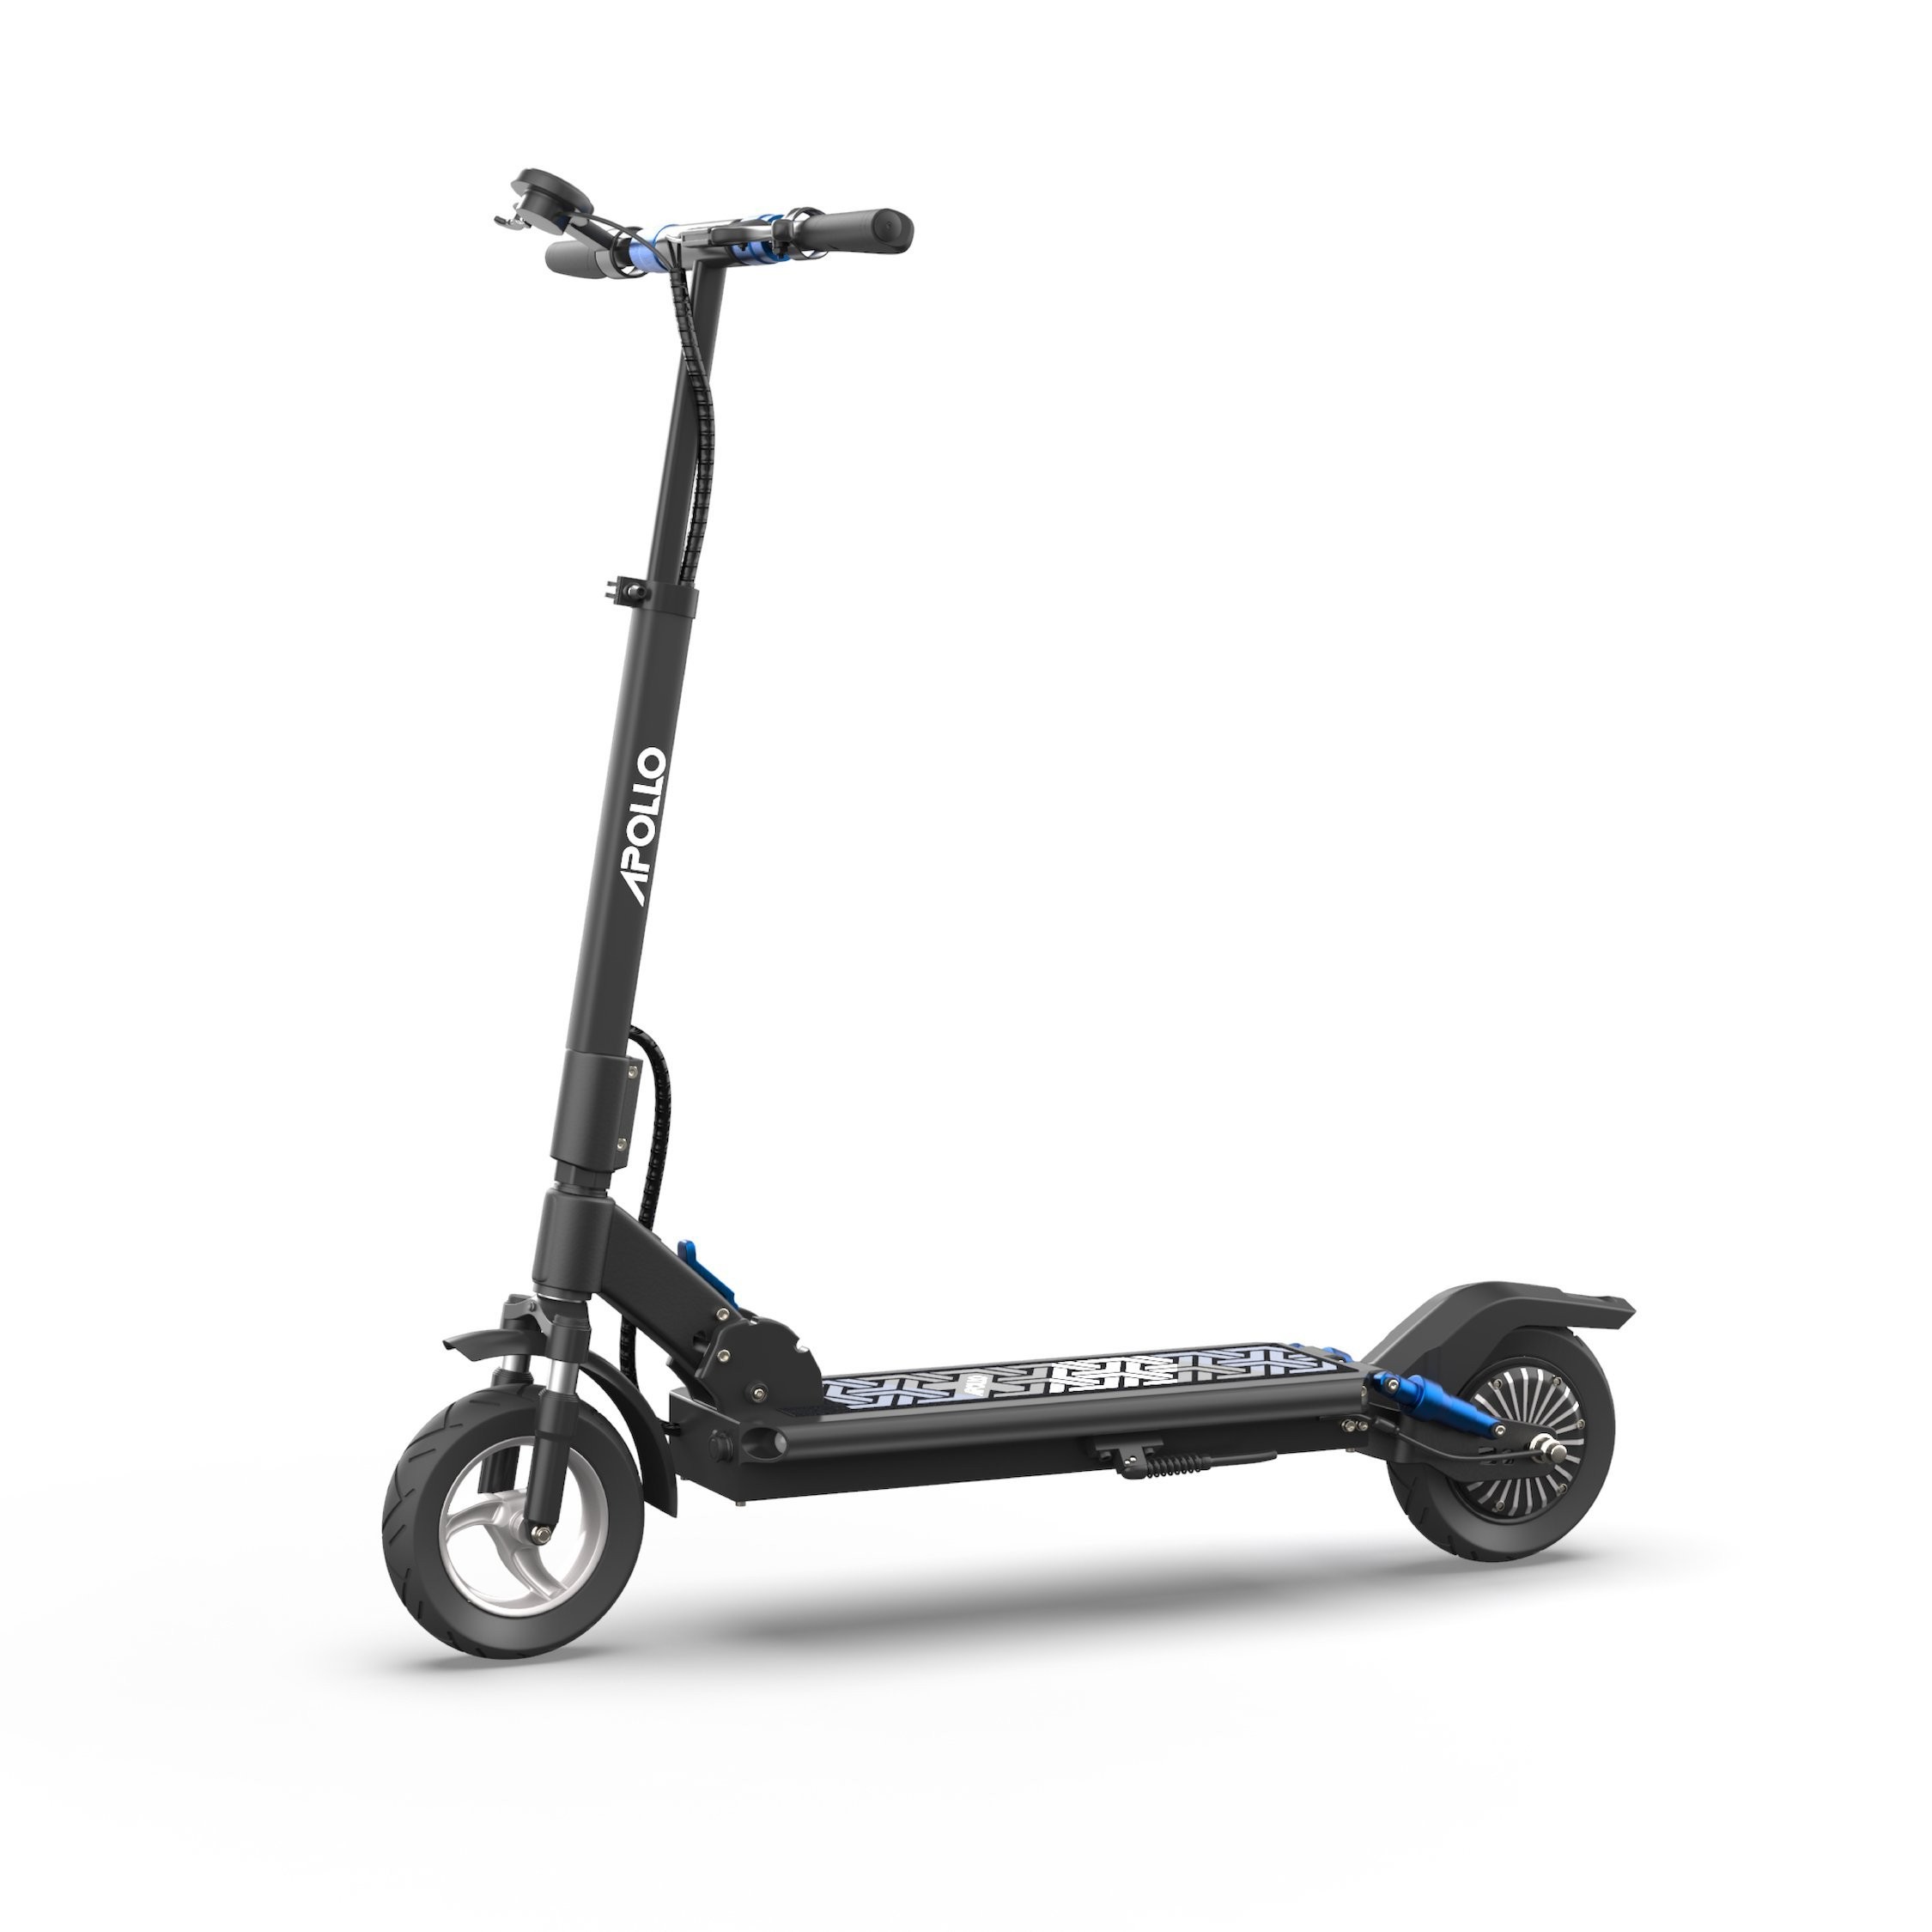
Apollo City Stem Replacement
Tools Required:
6mm allen key
4mm allen key
Rubber mallet
Apollo Spanner wrench
Parts Required:
US Store: Apollo City Stem Assembly
CAD Store: Apollo City Stem Assembly
If you require parts due to a manufacturing defect while under warranty, please request parts here.
Incorrect assembly, repair, and/or maintenance of your Apollo scooter can cause performance or component failure of your scooter, loss of control, property damage, serious injury or even death. If you are not sure you have the experience, skills, and tools to correctly repair your Apollo scooter, DO NOT ATTEMPT THE REPAIR and consult our support team or your local, qualified scooter technician. Any produce failure, defect, and/or damages resulting from unauthorized repairs, maintenance, and/or modification will not by covered by our Limited Warranty and are performed at your own cost and risk.
1
How to Replace the Stem on an Apollo City
To follow along with written steps, please click the right arrow below!
2
Step 1: Loosening Brake Lines
Loosen the front and rear brake lines by loosening the adjustment nut on the drum brakes at the wheel. You don't have to remove them entirely; just make it easier to disconnect.
Remove the brake lines from the brake handles on the handlebar assembly.
Carefully remove the brake line gaskets at the sides of the stem on both sides. Use a small allen key to help if needed.
3
Step 2: Disconnecting Handlebar Assembly
Remove the handlebar assembly from the stem and disconnect the communication cable.
4
Step 3: Loosening Stem Screws
Loosen the two 6mm screws at the bottom of the stem. If they're tight, consider using heat to make the process smoother.
Fold the stem, and use the Apollo spanner tool to loosen the nut located in the stem's bottom.
5
Step 4: Removing the Old Stem
If the stem and forks misalign, tighten the bottom screws enough to keep them in sync
Loosen the set nut at the bottom of the stem. It might be tight, so you may need assistance to hold down the fork while loosening.
Pull the wires through the stem and remove the old stem. A rubber mallet might be necessary to help release it.
6
Step 5: Installing the New Stem
Run the wires through the new stem, leaving them partially exposed.
If needed, use a rubber mallet to secure the new stem in place.
Reinstall the set nut, Nord lock, and spring on the wires. Tighten with Loctite for added security.
Ensure the Nord lock is placed before the set washer.
7
Step 6: Securing the New Stem
Making sure the stem and wheel are aligned, tighten the top nut using the provided tool.
Tighten the two 6mm screws at the bottom of the stem.
Recheck and tighten the side screws to keep everything aligned.
8
Step 7: Reconnecting Brake Lines
Pull the brake lines through their openings, ensuring the correct sides for front and rear brakes.
Reinstall the brake line gaskets.
Reconnect the handlebar assembly and the communication cable.
9
Step 8: Final Adjustments
Tighten the front and rear brake lines, ensuring proper tension without causing rubbing.
Spin the motor while adjusting brakes to check the strength of the brake